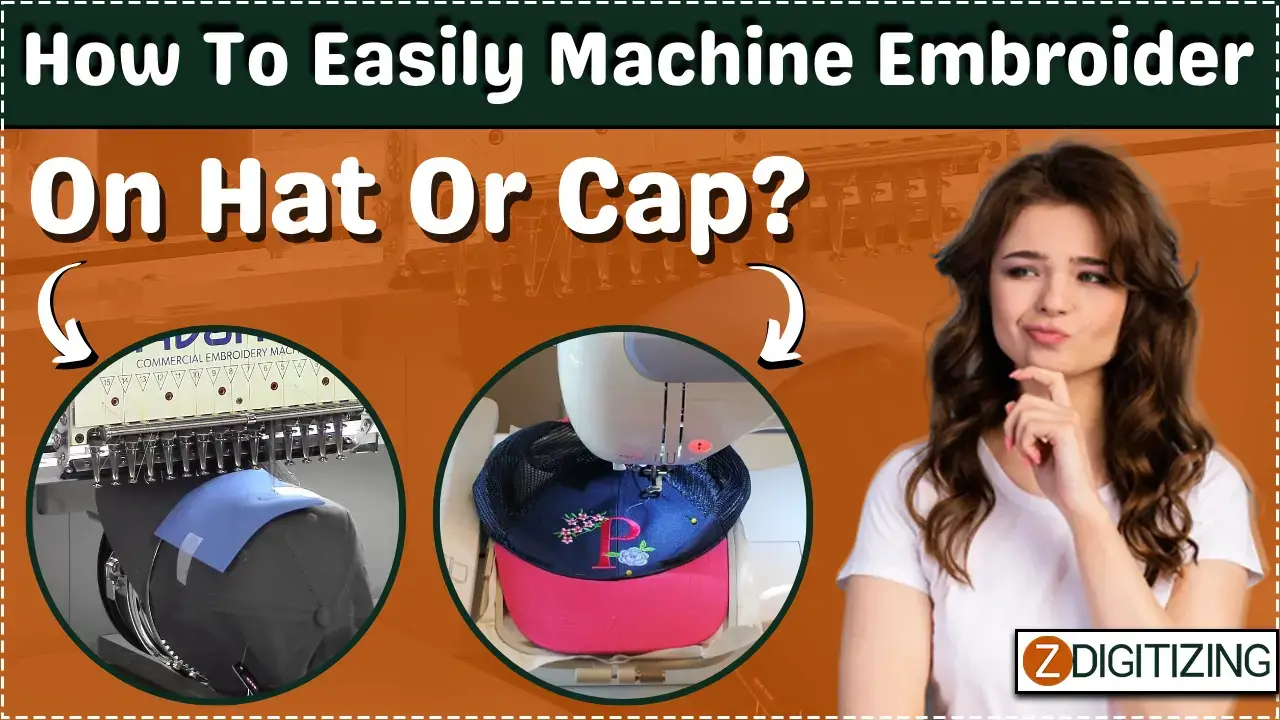
Embroidering on a hat or cap can add a personalized touch, turning a simple accessory into a unique fashion statement. In this comprehensive guide, we’ll walk you through the steps to easily machine embroider on a hat or cap. Whether you’re a seasoned embroiderer or a beginner, this guide is tailored to help you achieve professional results. Let’s dive in!
I. Introduction
Embroidering on hats opens up a world of creative possibilities. From showcasing your brand logo to adding a personal touch to gifts, machine embroidery on hats is a popular and stylish choice. This guide will cover the essential steps, from choosing the right materials to selecting machine embroidery designs.
II. Gather Your Materials
Before diving into the embroidery process, gather the necessary materials:
- Hat or Cap: Choose a hat with a smooth and even surface, preferably made of cotton or a cotton blend.
- Machine Embroidery Designs: Select your preferred designs, and consider using free embroidery designs available online for a budget-friendly option.
- Stabilizer: Use a cut-away stabilizer for added support during embroidery.
- Embroidery Thread: Opt for high-quality embroidery thread in colors that complement your design.
- Bobbin Thread: Ensure you have matching bobbin thread for a polished finish.
- Embroidery Hoop: Select an appropriately sized hoop that fits the cap without stretching it.
III. Hooping the Hat
Proper hooping is crucial for successful machine embroidery. Follow these steps:
- Prepare the Hat: Flatten the hat’s brim and ensure it is clean and free of any wrinkles.
- Stabilize the Hat: Place a piece of cut-away stabilizer inside the hat, covering the area where you plan to embroider.
- Secure the Hat in the Hoop: Gently pull the hat over the embroidery hoop, ensuring it is taut but not stretched. Center the area to be embroidered within the hoop.
IV. Choosing and Loading the Design
- Select Your Design: Load your chosen machine embroidery designs. If you’re looking for inspiration or are on a budget, consider using free embroidery designs available on various websites.
- Adjust Size and Placement: Use your embroidery machine’s interface to adjust the size and placement of the design to fit the hat’s embroidery area.
V. Thread the Machine
- Choose Thread Colors: Thread your machine with the colors that match your design.
- Bobbin Thread: Wind the bobbin with a matching bobbin thread to ensure a clean finish on the underside of the embroidery.
VI. Embroidering the Hat
- Test on Scrap Fabric: Before embroidering on the hat, do a test run on scrap fabric to ensure the machine settings and design placement are correct.
- Embroider Slowly: Start the machine slowly to ensure accuracy. Monitor the process to address any issues promptly.
VII. Finishing Touches
- Remove the Hat from the Hoop: Carefully take the hat out of the embroidery hoop.
- Trim Excess Stabilizer: Trim any excess stabilizer from the back of the embroidery.
VIII. Tips for Success
- Use the Right Needle: Choose a needle specifically designed for machine embroidery on hats.
- Consider Design Placement: Ensure your design is appropriately placed on the front, side, or back of the hat, depending on your preference.
- Maintain Tension: Check and adjust thread tension as needed during embroidery to prevent puckering.
X. Additional Customization Tips
- Adding Text: Experiment with adding text to your designs. Names, slogans, or significant dates can personalize the hat even further.
- Exploring Specialty Threads: Consider using metallic or variegated threads to add a unique touch to your embroidery.
- Mixing Techniques: Combine embroidery with other techniques like appliqué or fabric painting for a truly one-of-a-kind creation.
XI. Troubleshooting Common Issues
- Thread Breakage: Check for burrs on the needle, ensure proper threading, and adjust tension settings to prevent thread breakage.
- Puckering Fabric: Use an appropriate stabilizer, and make sure the tension is balanced to avoid puckering on the fabric.
- Misalignment: Double-check the hooping and design placement to avoid misalignment issues during embroidery.
XII. Aftercare for Machine-Embroidered Hats
- Hand Washing: To preserve the embroidery, hand wash the hat with mild detergent. Avoid using harsh chemicals or bleach.
- Air Drying: Allow the hat to air dry to prevent any distortion that may occur in a dryer.
- Storage: Store your machine-embroidered hats in a cool, dry place, away from direct sunlight, to maintain the vibrancy of the embroidery.
XIII. Showcasing Your Creations
- Photography Tips: When showcasing your embroidered hats online or in portfolios, use good lighting and close-up shots to highlight the details.
- Social Media Presence: Share your creations on social media platforms to gather feedback and connect with fellow embroidery enthusiasts.
XIV. Exploring Advanced Techniques
- 3D Embroidery: Experiment with techniques like 3D foam or puff embroidery to add dimension to your designs.
- Multi-Hooping: For larger designs, explore multi-hooping techniques to create seamless and intricate patterns.
XV. Conclusion
Embroidering on hats is a satisfying endeavor that allows you to express your creativity and make personalized statements. By following this comprehensive guide, you’ll be equipped with the knowledge and skills to confidently machine embroider on hats, turning them into unique and cherished accessories.
FAQs (Continued)
- Can I use a regular embroidery hoop for hats? While a regular hoop can be used, a hat hoop is recommended for better stability and to prevent distortion, especially on structured hats.
- Are there specific embroidery machines for hats? Some embroidery machines come with hat embroidery attachments, making the process more convenient. However, you can embroider hats with a regular embroidery machine using the right techniques.
- Can I embroider on hats with a curved brim using a flat hoop? It’s challenging to use a flat hoop for curved brim hats. A cap hoop or a cap attachment for your machine is more suitable for maintaining proper tension and alignment.
- How can I remove stubborn stains from an embroidered hat? For stubborn stains, spot clean the affected area with a mild detergent or stain remover. Avoid using abrasive materials that could damage the embroidery.
- Are there specific considerations for embroidering on different hat materials? Yes, consider the material of the hat when choosing your design and stabilizer. Soft, unstructured hats may require additional stabilizing compared to structured hats.


