Introduction:
Draw A Watering Can: Drawing is a brilliant method for communicating inventiveness and catching the magnificence of ordinary items. The watering can is one such item that conveys a feeling of wistfulness and utility. Its basic yet practical plan makes it a fascinating subject to draw. In this bit-by-bit guide, we will investigate how to draw a watering can, separating the cycle into sensible advances that even fledglings can follow. Also, please check out our Turkey coloring pages.
Materials You’ll Need:
Before we start, assemble these materials:
- Paper
- Pencil (ideally with changing shades of lead)
- Eraser
- Fine-tipped dark pen or marker
- Shaded pencils or markers
Stage 1: Essential Blueprint
Begin with a light pencil to make an essential blueprint of the watering can. Envision an enormous, prolonged tear shape with a smaller end at the top. This structures the body of the watering can. Then, add a somewhat bent, even line close to the top for the spout.
Stage 2: Handle and Spout
Draw the idea about one side of the watering can. It ought to seem to be an effortless bend that begins from the top and stretches out aside. For the spout, refine the shape by making it somewhat bent, tightening towards the end. You can likewise draw the tip of the spout somewhat open, recommending the water streaming out.
Stage 3: Body Subtleties
Add an itemizing to the body of the watering can. Define a bent boundary close to the lower part of the can to show where it lays on a surface. Then, define an upward boundary down the focal point of the can, somewhat bending to give the can a three-layered appearance. This line separates the can into equal parts, which will be significant for the handle arrangement.
Stage 4: Handle Subtleties
Improve the handle by adding thickness to it. On each side of the watering can’s body, draw a bunch of bent lines that reflect the state of the handle. This gives profundity to the handle and makes it appear joined to the can.
Stage 5: Spout Subtleties
Work on the spout by drawing two or three bent lines along its length. These lines add a feeling of construction and surface to the spout. You can likewise draw a little round shape at the foundation of the spout, where it interfaces with the watering can.
Stage 6: Base and Feet
Detail the foundation of the watering can by drawing a bunch of straightforward, short lines reaching out from the base bend. These lines address the feet that keep the can consistent. This unobtrusive option adds strength to the drawing.
Stage 7: Watering Can Subtleties
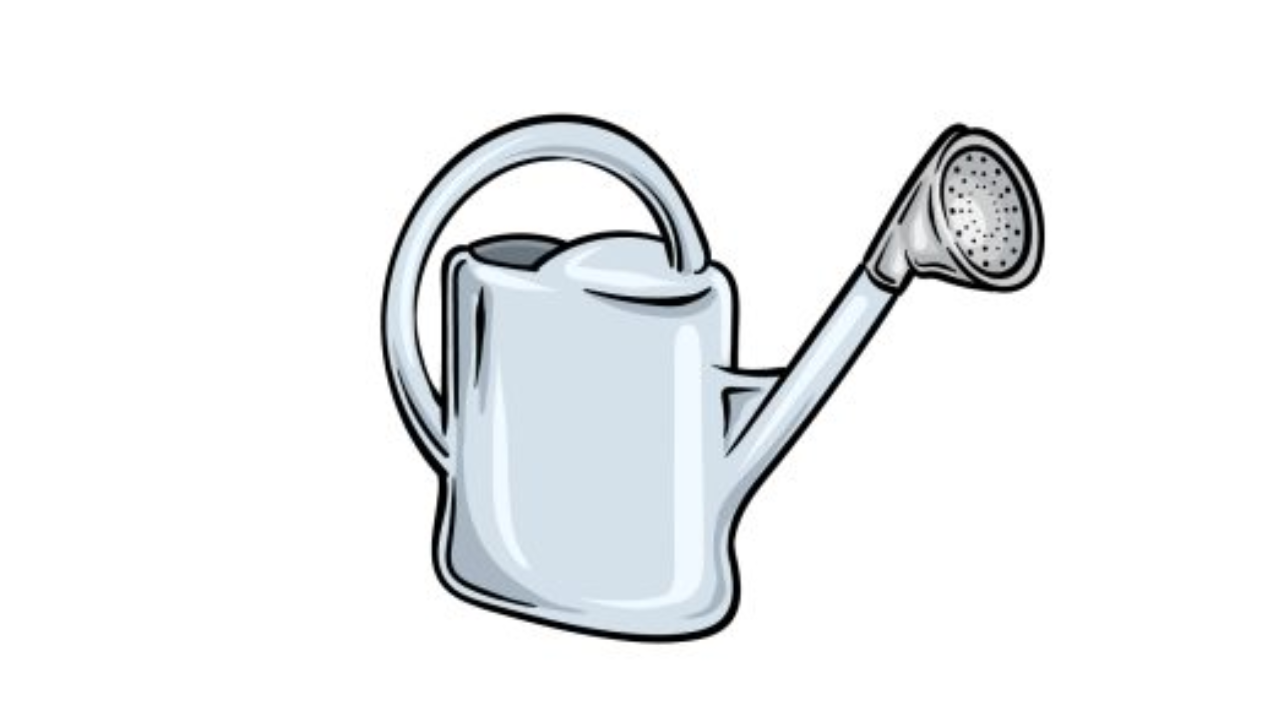
Now is the ideal time to zero in on the better subtleties of the watering can. Define a bent boundary across the body of the can, somewhat underneath the top. This addresses the lip of the can, where water is poured in. Add a couple of little circles or specks along the spout to make it appear punctured. These circles emulate the minuscule openings in genuine watering jars that permit water to stream out in a controlled way.
Stage 8: Delete and Refine
Take your eraser and cautiously delete any extra lines from the prior advances. This will assist with tidying up the drawing and make the last lines stick out. Focus on the areas where lines cross over and ensure the subtleties are fresh and clear-cut.
Stage 9: Last Layout
Whenever you’re happy with the refined drawing, follow over the pencil lines with a fine-tipped dark pen or marker. This last blueprint will make your drawing intense and particular. Cross the primary lines of the watering can, the handle, ramble, and other key elements.
Stage 10: Discretionary Shading
Think about using shaded pencils or markers to add pizazz to your drawing. You can keep it straightforward with shades of silver or dim to mirror the metallic appearance of a watering can. On the other hand, get innovative and utilize various varieties to give your drawing an interesting and inventive touch.
In Conclusion:
Drawing a watering can is a charming practice for catching structure and capability. By separating the means, you can make an enchanting portrayal of this ordinary item. Whether you’re a novice or an accomplished craftsman, this bit-by-bit guide gives an organized way to deal with drawing a watering might that you, at any point, can be glad for. So get your materials, embrace your creative soul, and let your creative mind stream like water from an all-around drawn ramble. For more information, please Click Here!